

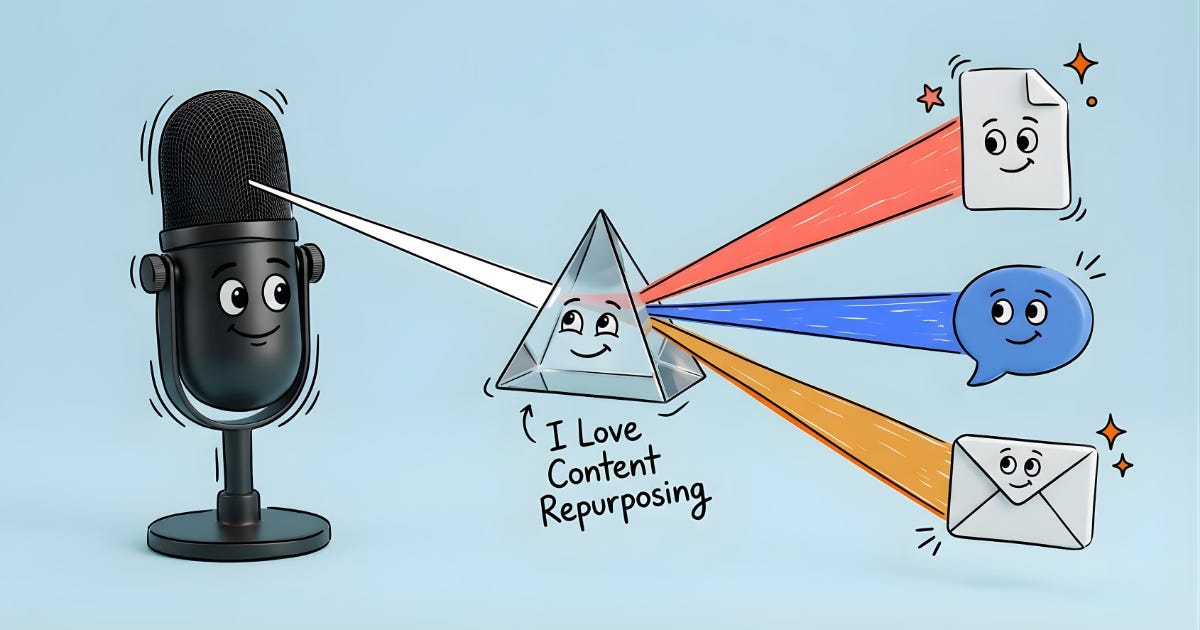
Content Repurposing In Claude Cowork
One 30-minute interview delivers 3 types of content.

A step-by-step guide with the exact prompts to create a reusable skill that turns a client interview into a blog post, LinkedIn update, and newsletter paragraph — with human review at every stage.

In my new job, I am often speaking to customers, hearing their stories (and recording it on video).
What if I can use these rich stories multiple times for communication and marketing?
You’ve recorded a great interview, the video is edited, the photos are ready. In earlier days, now the real work begins: transcribing, writing the blog, crafting the LinkedIn post, drafting the newsletter edit.
By the time everything’s done, your momentum is gone.
Claude Cowork, Anthropic’s desktop tool that executes tasks locally and in your Chrome browser, makes it possible to automate this entire pipeline as a reusable skill.
Not as a black box that spits everything out at once, but as a step-by-step process where you can steer after every output. Manual input FTW. In this guide, I’ll show you how to build this skill, including the exact prompts and getting an installable .skill file.
What we’re building
A Cowork skill that does the following:
Reads a folder of source files (video, briefing document, photos)
Transcribes the video (locally via Whisper or through a browser-based tool)
Generates a blog post in a journalistic style
After your approval: generates a LinkedIn post
After your approval: generates a newsletter paragraph
Sets all three up as drafts in your CMS, LinkedIn, and email tool
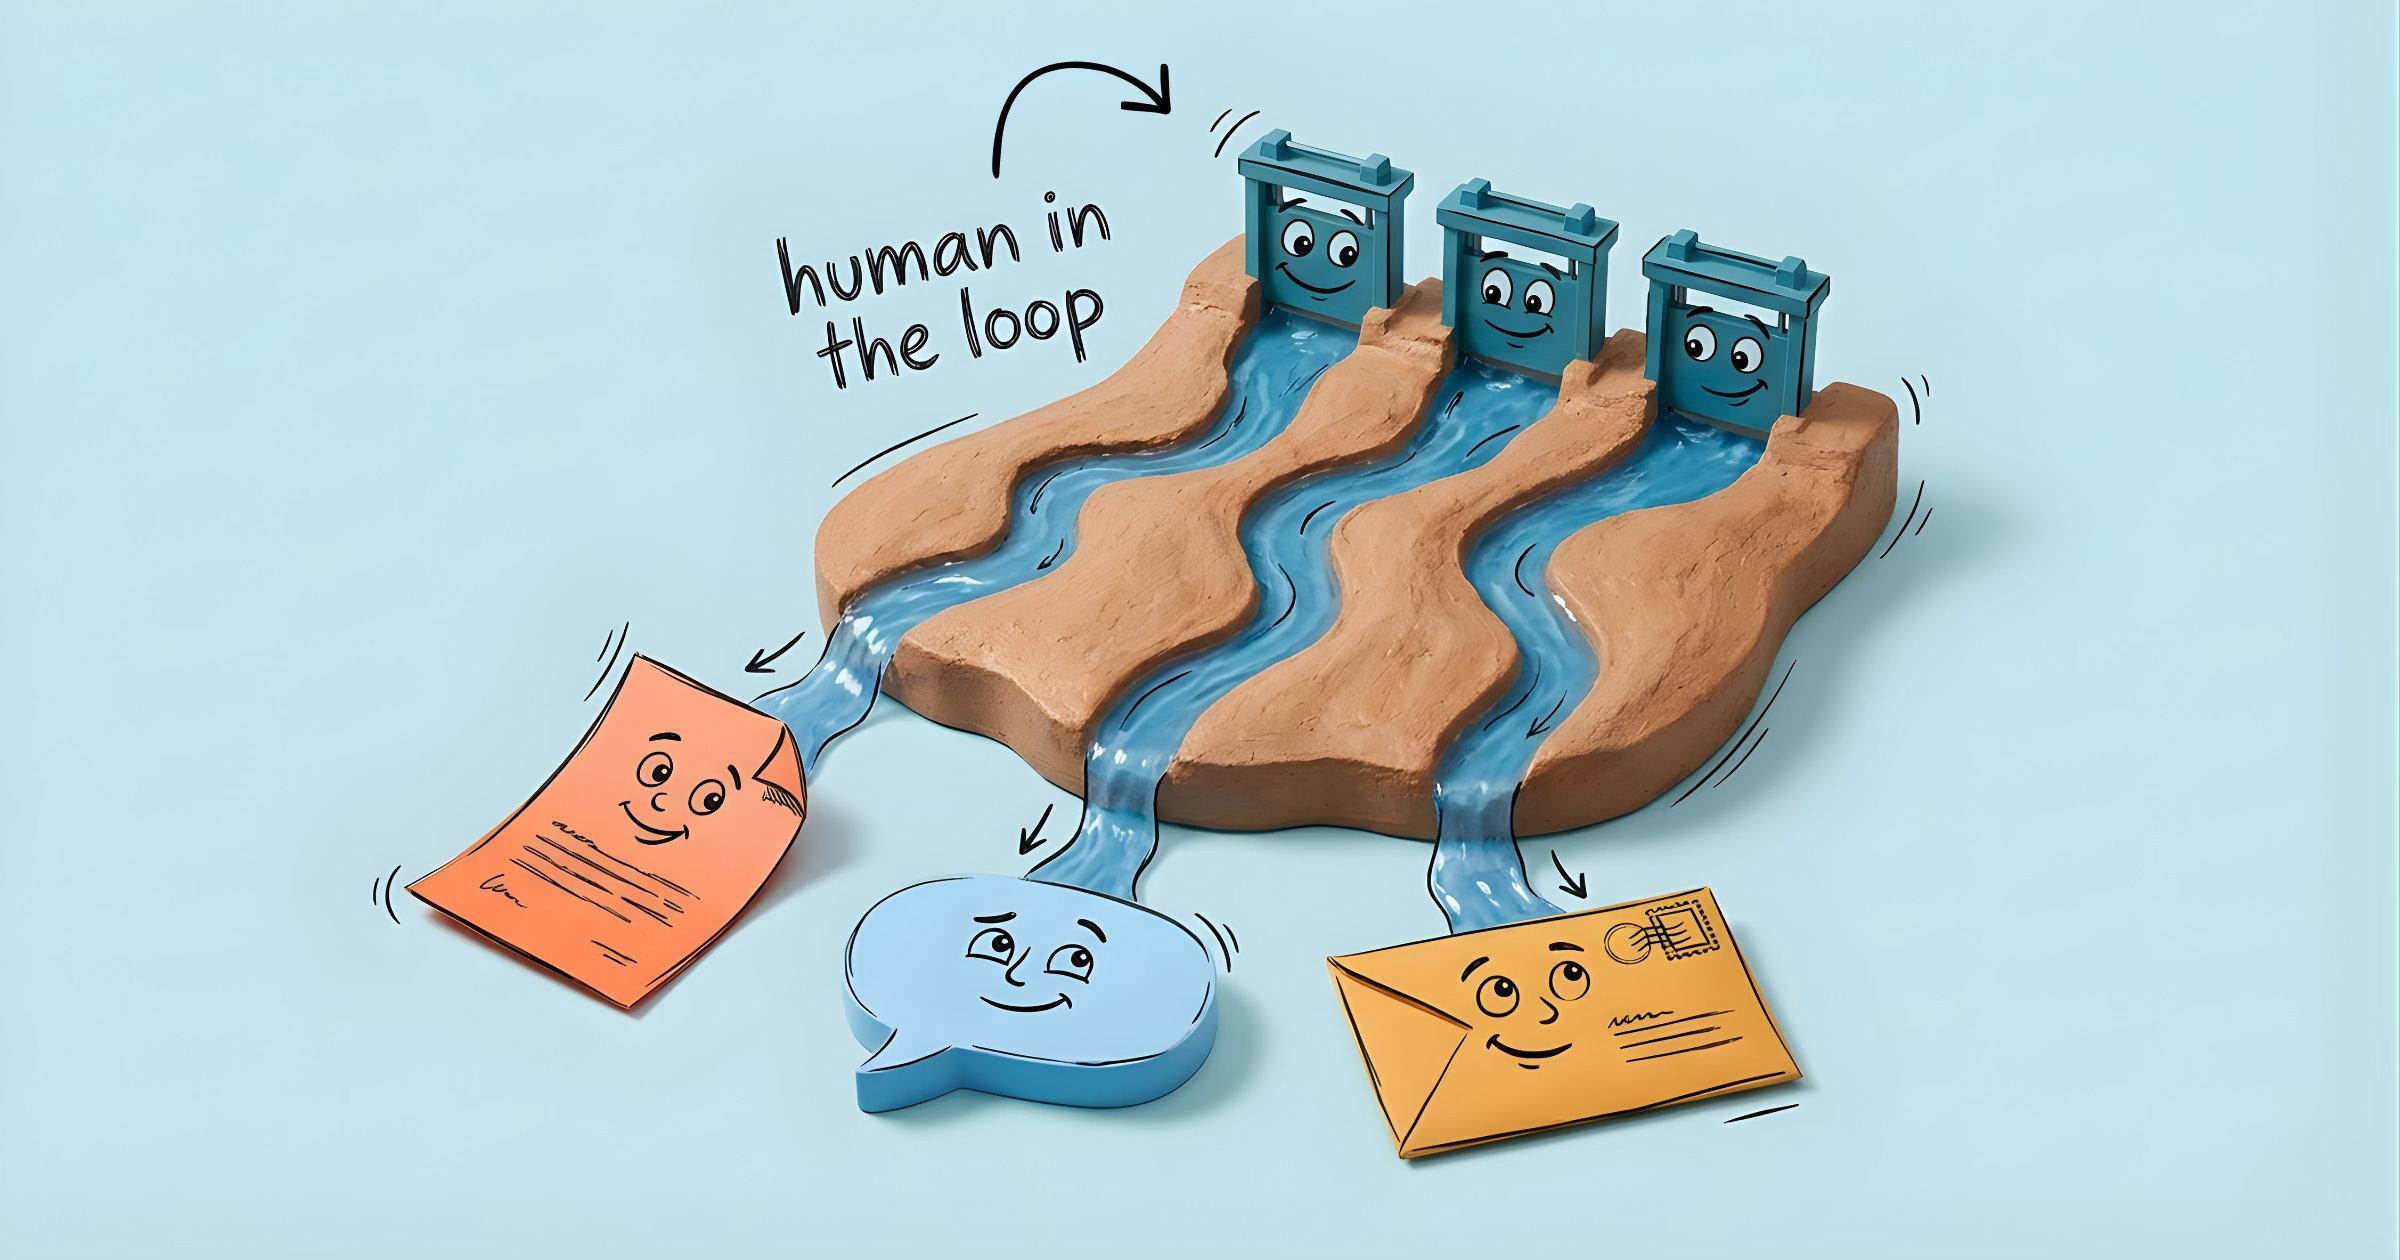
The core principle: every generation step is followed by a human review. You can give targeted feedback (”more client quotes,” “shorter opening”) and do as many revision rounds as you need. The flow only advances after your explicit approval.
Step 1: Define your input format
Before writing a skill, you need to decide how you’ll deliver the source files. Cowork can read a folder, so the simplest approach is a fixed folder structure:
/CaseStudies/{ClientName - Date}/
  ├── brief.txt          # context, key message, photo instructions
  ├── video.mp4          # edited interview, 16:9
  ├── photo-1.jpg
  └── photo-2.jpg
The brief.txt file is the key. It gives the AI the context that isn’t in the transcript: who is the client, what’s the core message, which quotes stand out, which photo goes where. An example:
Client: Horizon Foundation
Contact: Sarah Mitchell
Sector: Healthcare & Community Services
Project: Community center renovation
Key message and story: How a small foundation secured €180,000 for sustainability. [add more relevant context here]
Notable quotes: "We could never have done this on our own."
Photo instructions: Photo 1 = header, Photo 2 = in-text
Step 2: Handle transcription
The skill needs to convert an .mp4 into text. There are two routes:
Locally with Whisper (preferred): OpenAI’s open-source transcription model runs locally and produces the best results. Claude Cowork will try to install this for you.
Via the browser: If Whisper isn’t available, Cowork can drive a browser-based tool. TurboScribe.ai offers a free tier (3 files per day) and supports multiple languages. The skill opens the site in Chrome, uploads the video, and downloads the transcript.
In your skill, write this as a fallback mechanism: try local first, fall back to the browser.
Step 3: Define your style, this is the most important part
Most content repurposing flows don’t fail on technology. They fail on tone. If you don’t provide clear style guidelines, you get generic marketing copy that you’ll end up rewriting anyway.
Invest time in analyzing your best existing content. What makes your case studies recognizable? When I did this exercise, I discovered that my strongest articles had a journalistic, narrative style:
The client tells the story through extensive direct quotes
The editor connects and contextualizes, but stays in the background
Short thematic subheadings of two to three words
Pure prose: no bullet points, no lists
The company is mentioned in passing, never positioned as the hero
No CTA at the end: the piece closes with a natural forward-looking quote
These observations become the core of your prompt. The more specific you are, the less you’ll need to adjust afterward.
Step 4: Write the prompts
You need three prompts, executed sequentially. The blog is generated first; the approved version serves as input for the other two.
Prompt 1: The blog
You are an editor for [your website]. You write client case studies
in a journalistic, narrative style.

Write a case study based on the transcript and briefing below.

STYLE AND TONE:
The text reads like a magazine article, not marketing copy.
The client's voice is central. Use substantial, detailed direct quotes
from the transcript — the client tells the story, you connect and
contextualize. The tone is professional, warm, and accessible,
but never pushy or promotional.

STRUCTURE:
- Title: descriptive, in the form "[Organization] with [situation]"
- Opening: sketch the context and urgency — why did something need
  to happen?
- Mention [your company] casually in the opening paragraph
- Use 3–4 short thematic subheadings of 2–3 words
- Let each section be carried by direct quotes from the client
- End with a forward-looking quote — no explicit CTA

IMPORTANT:
- Length: 500–800 words
- Pure prose: no bullet points, no lists
- [Your company] is mentioned naturally, never as the hero
- Technical details are explained through the client's words

BRIEFING:
{brief_txt}

TRANSCRIPT:
{transcript_txt}
Prompt 2: LinkedIn post
You're writing a LinkedIn post on behalf of [name], [title] at [company].

STYLE:
- Personal and engaged
- Short sentences and line breaks
- Opens with an observation or anecdote from practice
- Lets the client's story speak for itself

GUIDELINES:
- Length: 800–1,300 characters (including spaces)
- Maximum 2 hashtags
- Link to the full case study
- No bullet points
- Suggest which photo works best
- Must be readable on its own without knowing the blog

APPROVED BLOG TEXT:
{approved_blog}
Prompt 3: Newsletter paragraph
Write a short paragraph for [company]'s email newsletter.

GUIDELINES:
- Length: 60–100 words
- Tone: informative and inviting
- One short teaser that makes the reader curious
- End with: "Read the full story →"
- The essence of the story, not a rehash of the blog

APPROVED BLOG TEXT:
{approved_blog}
Step 5: Build the skill
A Cowork skill is a folder containing at minimum a SKILL.md file. That file contains YAML metadata (name and description for triggering) and Markdown instructions that Cowork follows step by step.
Cowork will create this structure for you, it has a Skill builder baked in, and will make it this way:
case-study-flow/
├── SKILL.md
└── references/
    └── prompts.md
The prompts live in a separate reference file to keep the SKILL.md clean. Cowork reads the reference file when it needs it.
The SKILL.md
The description in the YAML header determines when the skill triggers. Be deliberately “pushy” here, better to trigger too often than too rarely.
---
name: case-study-flow
description: |
  Turn a client interview into publication-ready content: blog post,
  LinkedIn update, and newsletter paragraph. Trigger on: "case study",
  "client story", "process interview", "write blog from interview",
  "create content from client conversation", or when a folder with
  brief.txt and video.mp4/transcript.txt is offered.
---
Then come the steps. The core of each step is clear: what Cowork should do, and when it should ask for user input.
The review loop is the most important pattern. After every generation step, write explicitly:
**Show the full text to the user and ask for feedback.**

Wait for one of these signals:
- Approval: "good", "approved", "looks great" → proceed to next step
- Adjustment: process the feedback, show the revision, ask again

The user can do unlimited revision rounds.
Only proceed after explicit approval.
This is what distinguishes a Cowork skill from a simple prompt chain: the human stays in the loop but doesn’t have to manually switch between tools and windows.
Publishing as drafts
The final step is placing the content in your publication tools. Cowork has Chrome access and can navigate to WordPress, LinkedIn, and your email tool. But, and this is crucial, it never clicks “Publish.” Everything is saved as a draft.
Write this explicitly in your skill:
## Important rules
- Never publish automatically. Everything as draft/concept.
- The user clicks Publish/Send/Post themselves.
- Photos are not processed automatically — remind the user.
Step 6: Installing the skill
Cowork skills are distributed as .skill files (essentially ZIP archives).
Cowork produces a case-study-flow.skill file you can install in Cowork and reuse often.
The prompt to build this yourself
Want to build this yourself? Open a new Cowork conversation and paste the following:
I want to create a Cowork skill that turns a client interview
(video + briefing) into three content outputs:

1. A blog post (client case study) → [your CMS] draft
2. A LinkedIn post → LinkedIn draft
3. A newsletter paragraph → [your email tool] draft

Input: a folder with brief.txt, video.mp4, and photos.

The flow should work step-by-step with human review
after every generation step. Nothing gets published automatically.

My style for case studies is [describe your style here —
journalistic/narrative/promotional/etc.].

The LinkedIn post is on behalf of [name + title].

Create the SKILL.md and a references/prompts.md,
and package it as a .skill file.
Cowork picks it up from there and walks you through the process. This includes writing the prompts, testing with a real interview, and refining until you’re satisfied.
Your gains:
The first interview costs you about an hour to set up the skill. Every subsequent interview takes ten minutes: prepare the folder, trigger the skill, review three times, check the drafts, publish. The AI does the writing; you keep creative control.
That’s the difference from a fully automated pipeline. You’re not building a machine that churns out content, rather you want to be building an assistant that does the groundwork and waits for your signal.
Built this yourself? Share what you loved about it.
thank you for the helpful step-by-step guide, Wilbert!!